LiveChat Review: Easily Add Live Chat to Your WordPress Site

In this review, I’ll be taking a look at LiveChat from the perspective of a WordPress site owner. While LiveChat is technically a standalone SaaS, they have their own WordPress plugin that makes it super simple to set your WordPress site up with LiveChat.
To that end, I’ll be reviewing two things:
- The actual LiveChat service
- How easy it is to get LiveChat up and running on WordPress
Spoiler alert – it’s crazy simple to integrate with WordPress and the interface is pretty dang slick. But more on that later…
LiveChat Review: The Feature List
Because LiveChat is a standalone SaaS rather than a WordPress plugin, it boasts an impressive feature list. I won’t list every single thing, but here are the highlights:
- Custom chat window designs
- Automatic personalized greetings
- Ticket form in case your live chat is unavailable when someone sends a message
- Canned responses to save time
- Chat transfer if you’re using multiple agents
- Web, mobile and desktop apps so you can chat with visitors no matter where you are
- Detailed statistics and a real-time dashboard overview
- Plenty of helpful features for teams
- Post-chat ratings and surveys to see how effective your support is
And if you want, you can even go further and track your visitors to gather additional customer data.
Alright…let’s dig.
Hands-on With LiveChat and WordPress
My first port of call is to install the LiveChat plugin and see what happens. After activating it, I get an option to create a new LiveChat account directly from my WordPress dashboard. That’s nice…will save me a couple of clicks:
With that out of the way, my next step is to Sign in to web application:
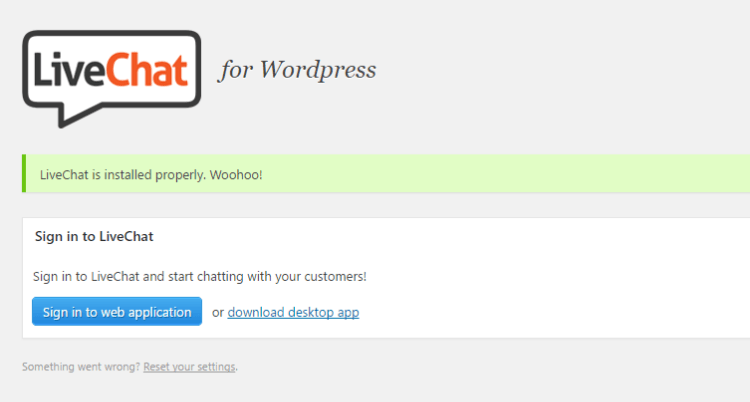
Clicking that takes me over to LiveChat’s website, which I assume is where I’ll actually configure my live chat box.
At this point, your live chat is actually already up and running on the front-end of your site:
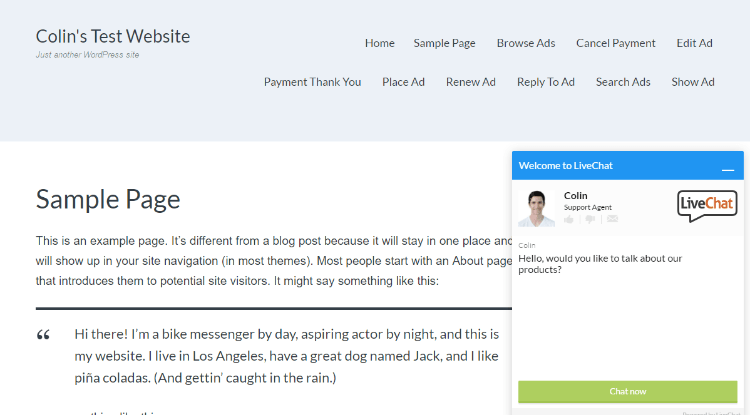
That literally couldn’t be simpler. LiveChat even pulled in my gravatar to add an image. The above screenshot is exactly how my site looks after just creating an account. I haven’t configured anything yet.
As far as ease of use goes, the integration really couldn’t have been any simpler.
Configuring Your LiveChat Box
As I mentioned, you’ll configure all of your chat box’s settings at LiveChat’s website, not inside your WordPress dashboard.
To access those settings, you can use the same credentials you used to create your LiveChat account when you signed up inside your WordPress dashboard. Then, you head to the settings tab and you can choose your:
- Theme
- Language
- Pre-chat survey (if any)
- Post-chat survey (if any)
- Queue message
- Ticket form
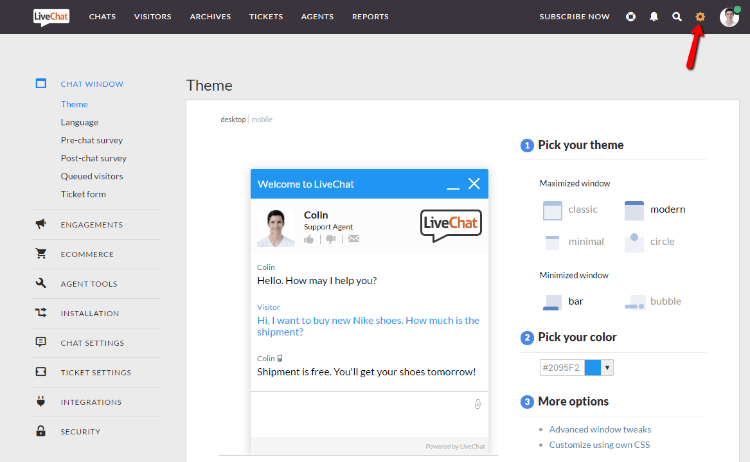
For Theme, you can change the layout and colors, as well as add custom CSS if you’d like:
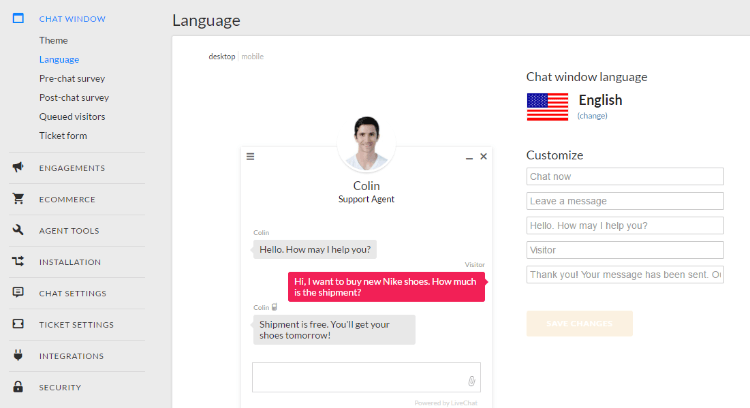
In Language, you can choose your overall language as well as customize the various prompts:
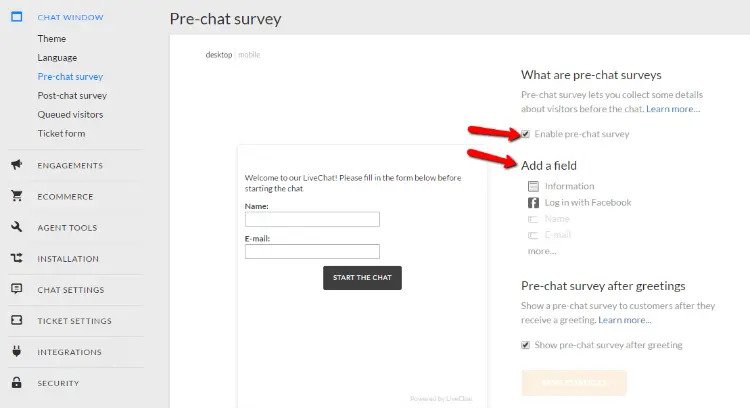
In Pre-chat survey, you can set up an optional pre-chat questionnaire that visitors will have to fill out before chatting with you:
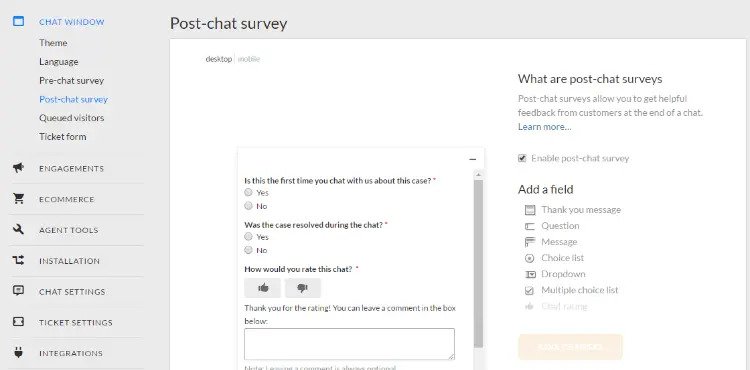
Post-chat survey, as you might expect, lets you do the same thing for after your chat session:
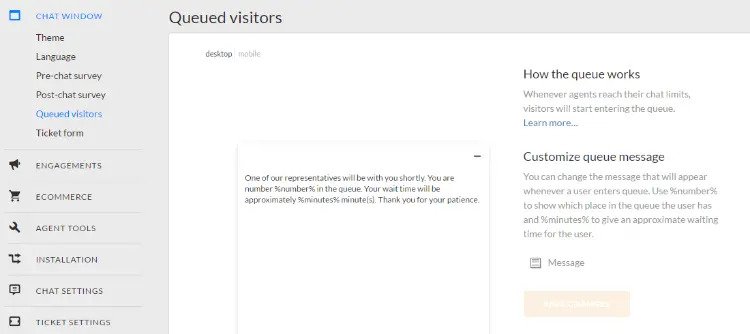
The Queued visitors tab lets you customize the message that appears when all of your agents are busy:
And finally, the Ticket form tab lets you decide whether or not to allow visitors to leave a message if they use your live chat window during off hours. If you enable this option, you can also customize the form that visitors will fill out in that situation:

All in all, it’s pretty dang simple. And the nice thing is that any changes you make here will get automatically pushed to your WordPress site. You don’t need to redo the integration or anything.
Agent Tools for More Productivity
Another nice thing you can configure are your Agent Tools. These make you more productive by allowing you to add:
- Canned responses
- Keyboard shortcuts
- Tags
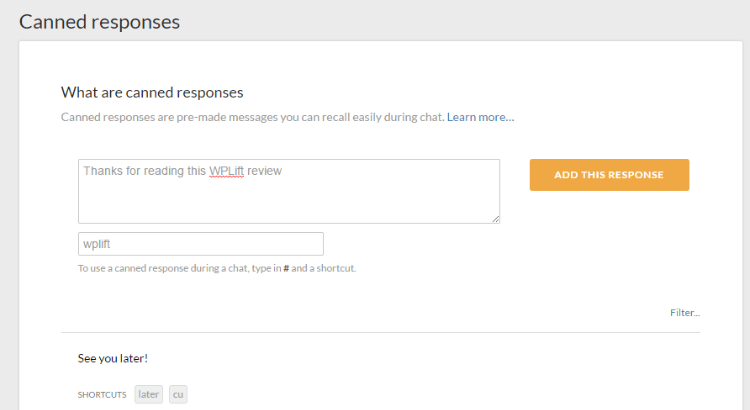
For example, you could create a canned response and assign that canned response to a shortcut so that you can use it in live chat by just pressing using #shortcut:
Responding to Live Chat Messages
Configuring your live chat window is pretty dang simple. But how can you actually respond to messages once they start rolling in?
You have three options:
- The LiveChat website
- A desktop app
- A mobile app
Here’s how simple it is to use the website interface. Just head to the Chats tab. Then, whenever a new chat comes in, it will immediately pop up on the website. No need to refresh or anything. LiveChat even plays a voice message to alert you of the new chat (in case you’re in a different tab):
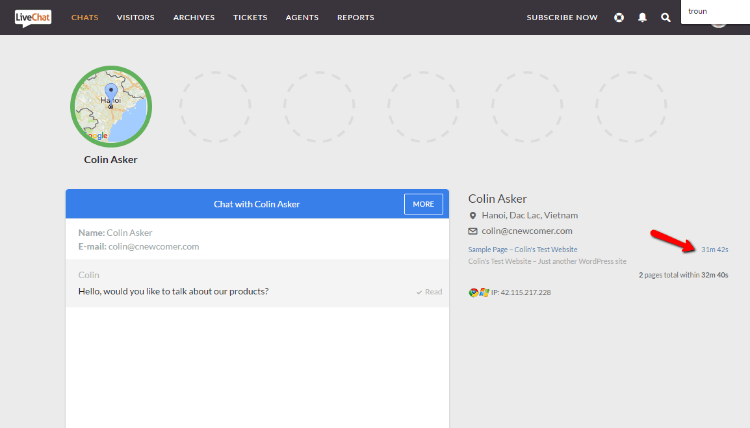
You can even see more information about the person who you’re chatting with like:
- Where they’re located
- Which page they’re on
- How long they’ve been on both that page and your website as a whole
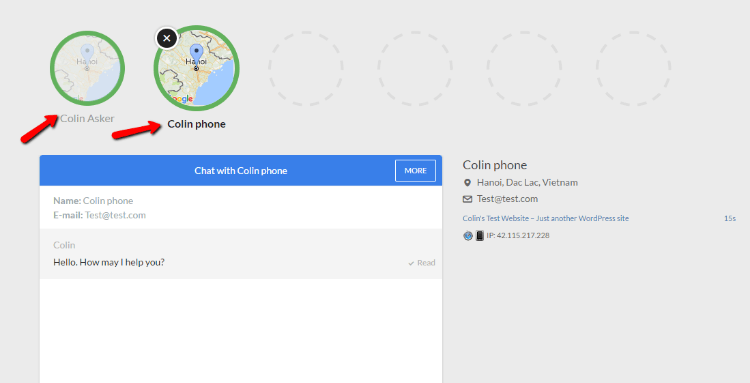
And if you get multiple chat messages, you can see an overview of all your different chats:
If you need more functionality, you can click on the More tab to be able to:
- End the chat
- Transfer the chat
- Create a ticket from the chat
- Upload files
- Ban the visitor (in case of abuse)

Viewing Chat Analytics
Last thing I’ll show you for now! LiveChat also includes this nifty Reports tab that lets you view how you’ve done recently. You can quickly see:
- # of queued visitors
- Achieved goals
- Satisfaction (from post-chat surveys)
- Lots of other pertinent data
You can even view these data points in real-time on a big dashboard:
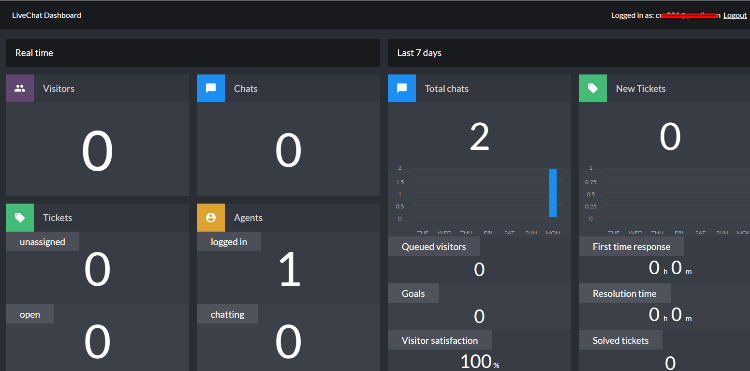
If you’re running a team, this will be super useful to see how you’re doing. Even if you’re just solo, you can still get valuable data from the regular Reports tab.
How Much Does LiveChat Cost?
Moment of truth – how much is all of this going to cost you? Well, it depends on the number of agents you have and what features you need.
Plans start at $19 per month per agent when billed month-to-month. That plan has a limited chat history, though. To get unlimited chat history, you’ll need the plan that costs $36 per month per agent.
If you’re willing to pay annually, you can also save some cash that way.
With all of these plans, you can get a 30-day free trial. No credit card required.
Wrapping Things Up
LiveChat integrates seamlessly with WordPress. Seriously – there’s nothing to configure. Just install the plugin, create an account, and go. Configuring things in the LiveChat is intuitive and well-designed. They include plenty of helpful onboarding tips to make getting started.
As for the actual live chat system, I liked the canned responses and shortcuts. And the actual interface for dealing with chats is pleasant. I didn’t try the desktop or mobile apps. But if they’re similar to the cloud interface, I imagine they’re well-designed as well.
I’ve only personally used a couple live chat services (Zopim and Olark being the others). But of those that I’ve tried, LiveChat is the nicest (though it is also a tiny bit more expensive than those alternatives).
So if you’re in the market for a live chat tool that integrates easily with WordPress, give LiveChat a look. Its easy setup and 30-day free trial mean you won’t be out any time or money for giving it a go.